How to Signup with Google Analytics
Google Analytics is available for free and all you need is a Google or Gmail account to sign up. The sign up process is quite simple, follow the step by step instructions below to create your Google Analytics account.
Step 1: First you need to visit Google Analytics sign up.
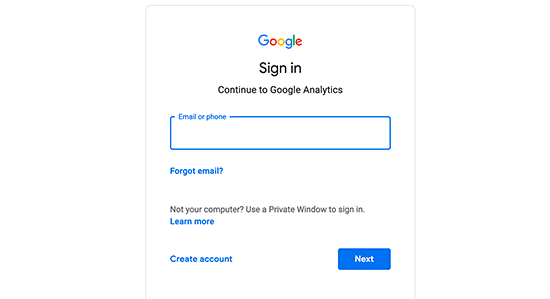
You will be asked to login with your Google account. If you already have a Google or Gmail account, then you can use that to sign-in. Otherwise, you can go ahead and create a Google account for yourself.
Step 2: Once you sign-in with your Gmail account, you will be prompted to a screen like the one below. This is where you will signup for Google analytics with your Gmail account.
After that, you will be asked to provide an account name. This name will be used internally so you can use anything like your business name.
Step 3: On the next screen, you will be given choice to choose between a website or mobile app. Make sure you select website.
After that, you need to enter website name, website’s URL, country, and the time zone.
Once you have entered this information, click on the Next button. You will be presented with Google Analytics terms and service which you must agree to, so click on ‘I Agree’ button.
Step 4: Now you will be presented with your Google Analytics tracking code. You can copy this tracking code because you will need to enter it in your WordPress site depending on the method you use below
We suggest leaving the analytics browser tab open as you may need to revisit it, once you have installed the code on your WordPress site.
Now that you have setup a Google Analytics account, let’s take a look at how to install Google Analytics in WordPress.
How to Install Google Analytics in WordPress
There are a few different ways to setup Google Analytics in WordPress. For the purpose of this article, We will show you two methods where the first option is the most recommended.
You can choose the one that best suits your needs.
1. Google Analytics for WordPress by Monster Insights
MonsterInsights is the most popular Google Analytics plugin for WordPress. Over 1 million websites use it including the likes of Bloomberg, PlayStation, Zillow, and more.
It is the easiest and by far the best way to add Google Analytics to WordPress
MonsterInsights is available as both, a paid premium plugin, and a free version. In this article, we will be using the MonsterInsights free version.
You can use the MonsterInsights Pro version if you want more advanced features like E-commerce tracking, Ads tracking, Author tracking, etc. The process of setting them up is the same.
Let’s get started.
The first thing you need to do is install and activate the MonsterInsights plugin.
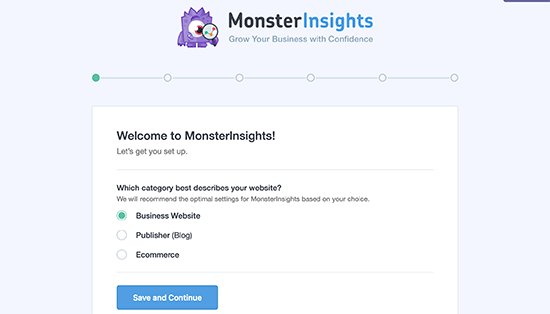
Upon activation, the plugin will add a new menu item labeled ‘Insights’ to your WordPress admin menu. Clicking on it will bring the MonsterInsights setup wizard.
First, you will be asked to choose a category for your website (a business website, blog, or online store). Select one and then click on ‘Save and Continue’ button.
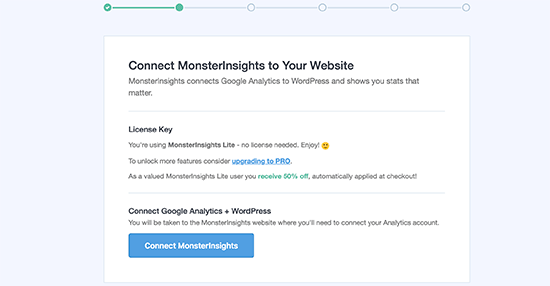
Next, you need to click on the ‘Connect MonsterInsights’ button.
This will bring up a popup that will take you Google accounts where you will be asked to sign in or select a Google account if you are already signed in.
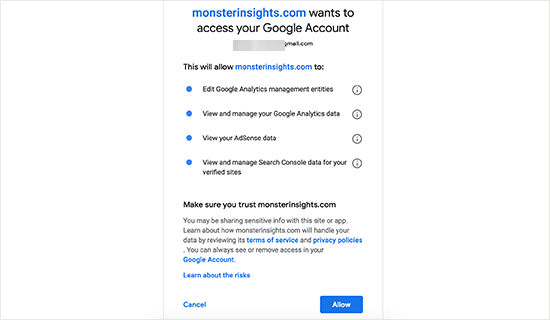
Next, you will be asked to allow MonsterInsights to access your Google Analytics account.
Click on the ‘Allow’ button to continue.
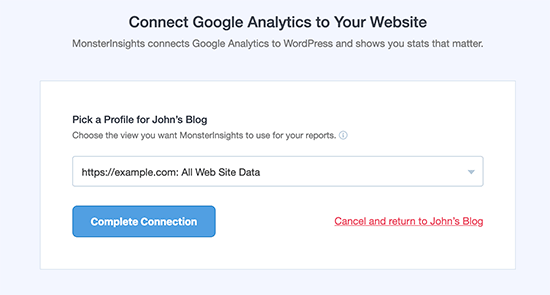
The final step is to select the profile you want to track. You need to select your website here and then click on the ‘Complete authentication’ button to continue.
MonsterInsights will now install Google Analytics on your website. After that you will be asked to select the recommended settings for your website.
Click on the Save and Continue button to save your settings.
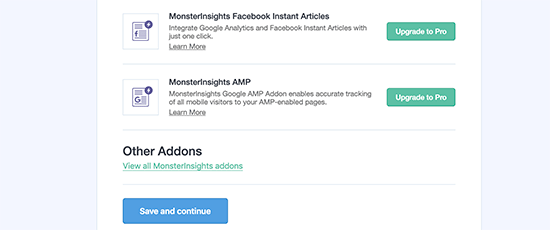
Next, MonsterInsights will show you paid add-ons that you can access if you upgrade to PRO. You can simply click on the ‘Save and Continue’ button to skip this step.
After that, you will be asked to install WPForms plugin, simply click on ‘Skip this Step’
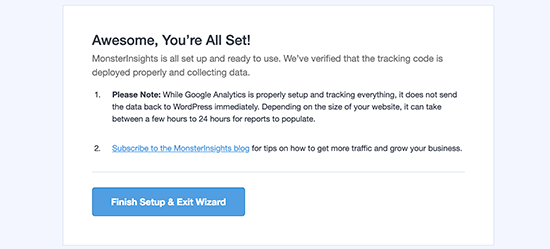
That’s all you have successfully installed and setup Google Analytics on your WordPress site. Remember, it will take Google Analytics sometime before showing your stats.
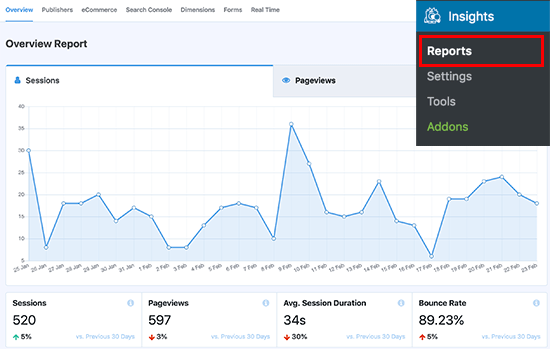
The best part about MonsterInsights is that you can view your Google Analytics reports inside your WordPress dashboard. Simply visit Insights » Reports page to check out a quick overview of your analytics data.
2. Insert Headers and Footers Plugin
This method is not as not as good as MonsterInsights because you will not be able to do advanced tracking configuration, and you will not be able to view Google Analytics data in your WordPress dashboard.
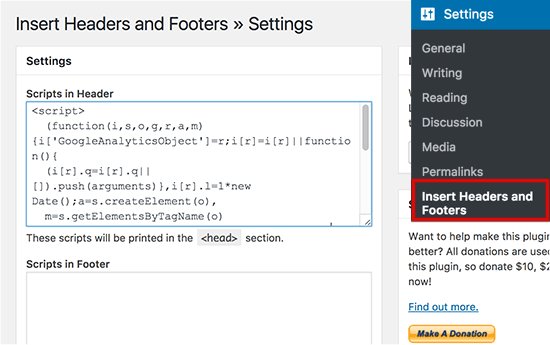
First, you need to install and activate the Insert Headers and Footers plugin.
Upon activation, you need to visit Settings » Insert Headers and Footers page. Here you need to paste the Google Analytics code that you copied in step 4 into the headers section.
Don’t forget to click on the save changes button to store your settings.
That’s all, you have successfully installed Google Analytics on your site.

