Setting up a new domain name is quite an easy thing to do. I assure you a safe process if you follow these steps.
Step 1:
Buy a new domain name from any web hosting company of your choice. We recommend Namecheap because of their good chat support. To buy a domain name, click here.
Step 2:
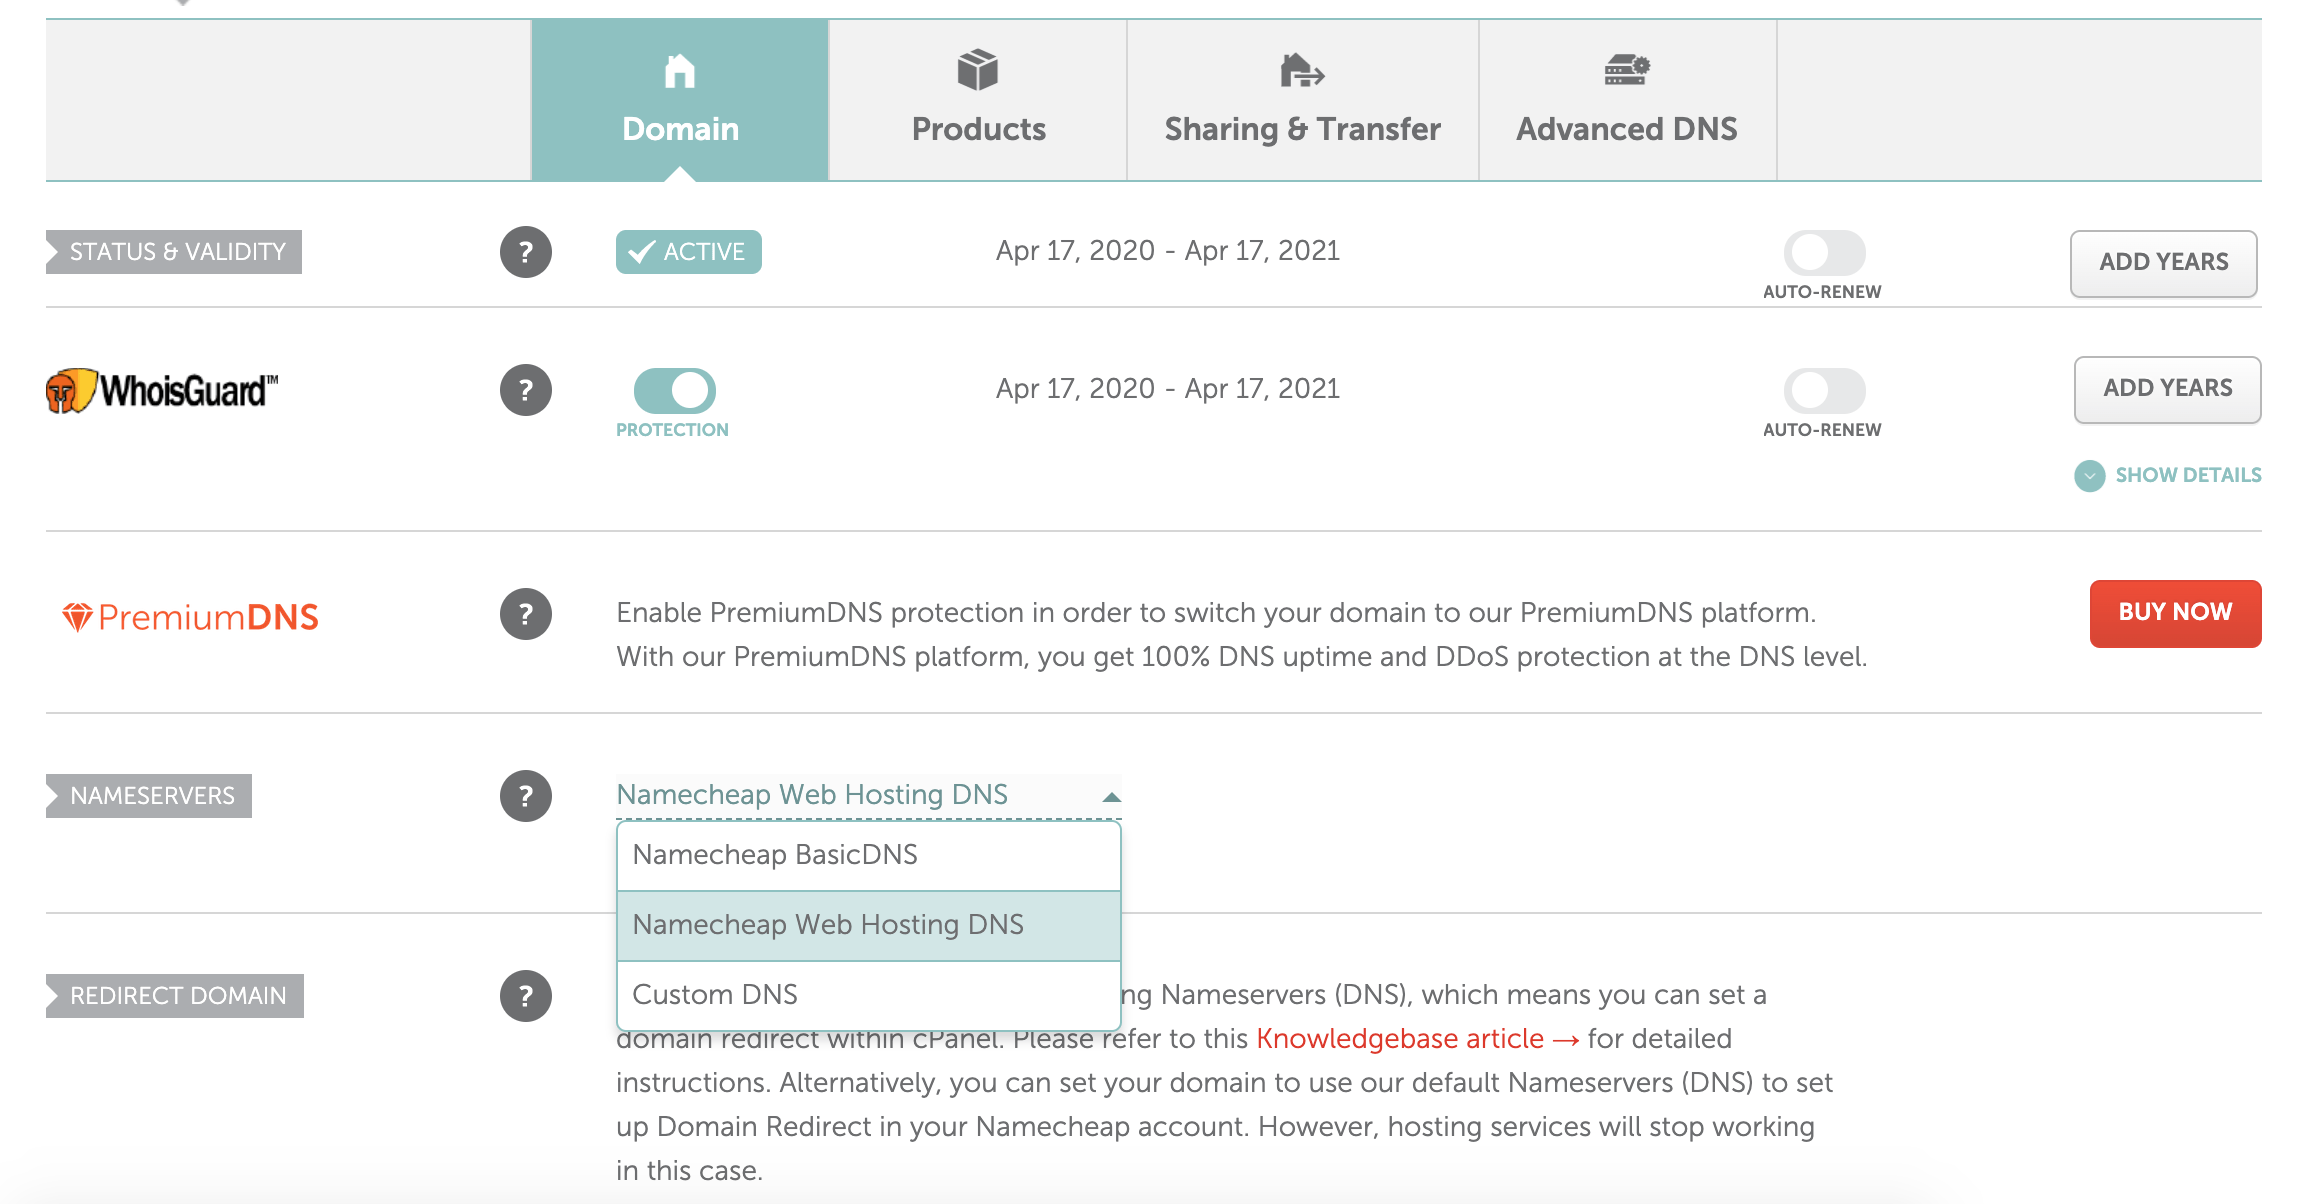
Sign in to you Web Hosting Provider, and beside the URL of your domain, click on “Manage”
Step 3:
From the Nameservers, select “Custom DNS”
Step 4:
Fill in the DNS spaces with the nameservers below: dns1.namecheaphosting.com and dns2.namecheaphosting. com, then click on the green checkmark button.
Step 5:
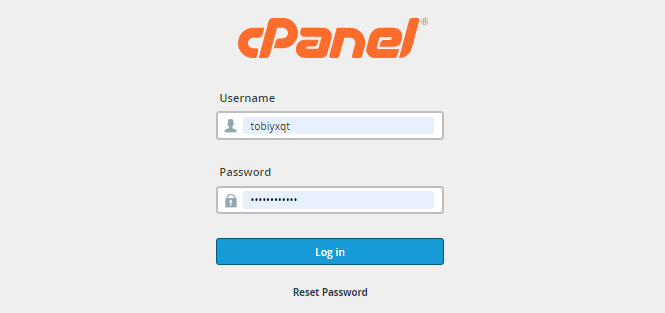
Log into cPanel, you can sign in with yourwebsiteurl/cpanel
Step 6:
Scroll down to the “Domain Section and click “Addon Domains”
Step 7:
Put in the new domain name and click on an empty space
Step 8:
The subdomain and document root get auto-filled once you click on any empty space
Step 9:
Leave the box unchecked and click on “Add Domain”
Step 10:
A green box with a message “domain has been created”
Does this help?


