To create a custom email for your website, you have to understand a few tips which should come in handy in the long term.
Tip 1
Create the emails around departments, roles or titles and not around a person. For instance, a [email protected] is better, as it is tied to a department, as against a [email protected]. You got that right?
Tip 2
Guard your cpanel details jealously. Having in mind that anyone that has access to these details would automatically be able to go through all emails and correspondence which are tied to that particular domain.
This singular act could be particularly damaging to your brand, so it is advised that all web designers out there purchase a hosting plan for each client.
To create a custom email for your website, follow the steps
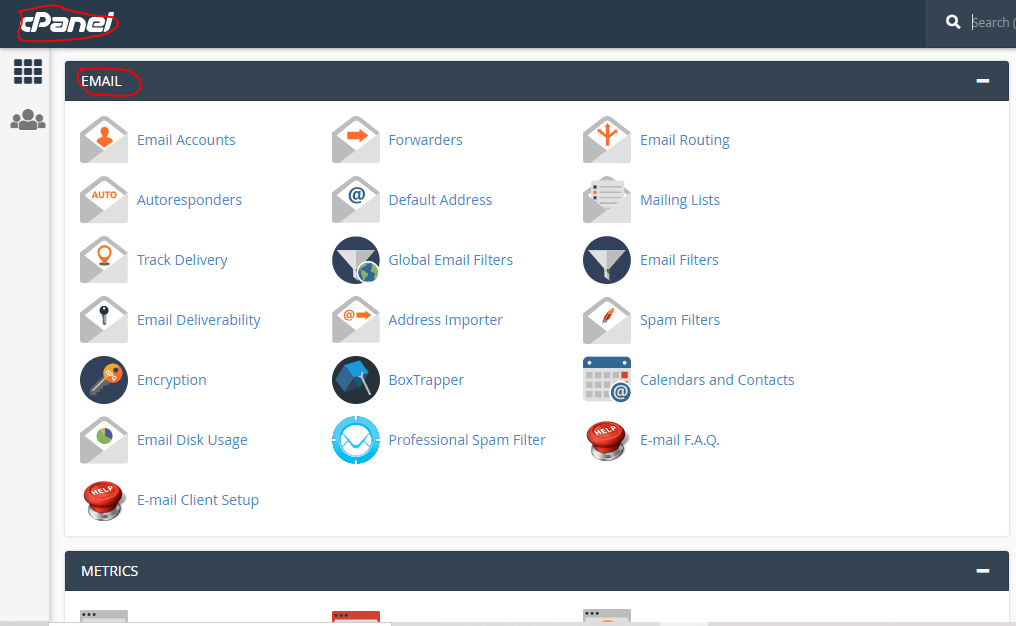
Step one: Cpanel Login.
To access your control panel, just go to yoursite.com/cpanel and enter the login details as required. Once this has been done, scroll down to the email section and get ready to start creating that custom email for your brand.
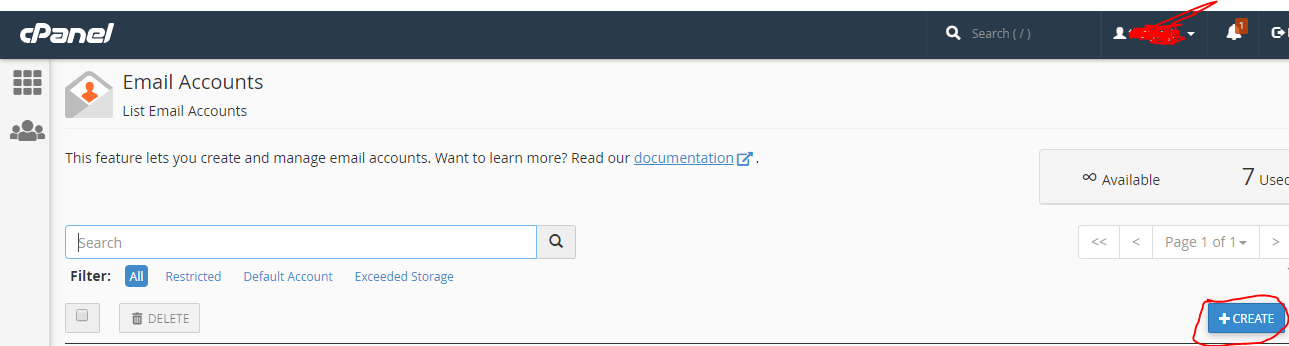
Step Two: Create Custom Email Account
Click on ‘Email Accounts’, then click on ‘Create’
READ ALSO: 6 Great ways to grow your email list
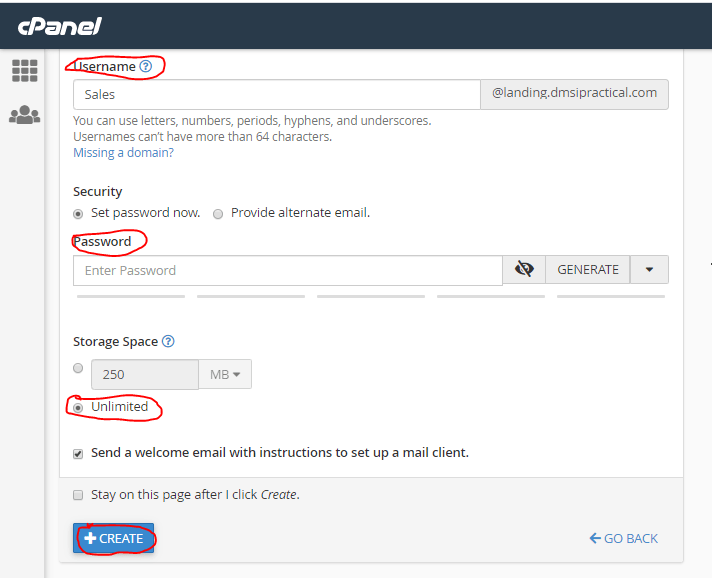
Step three: Fill out Required Details
If there are more than one domains currently being hosted, select the domain for which you want to create this custom email account for before going ahead to create in this format;
Username: This should just contain the title and nothing more, as the extension would already be provided in the next box as can be seen below
Password: Enter the password which you prefer. Do not use the ‘generate password’ as this gives the system a prompt to create a password for you.
This might be a difficult one to remember as systems are used to. Ensure the password selected has a combination of uppercase, lowercase, number(s) and special character(s) as this helps keep your email account secure.
Storage Space: Choose ‘unlimited’ as this means you can store any amount of data on your email without running out of space.
Once done, click on ‘Create’
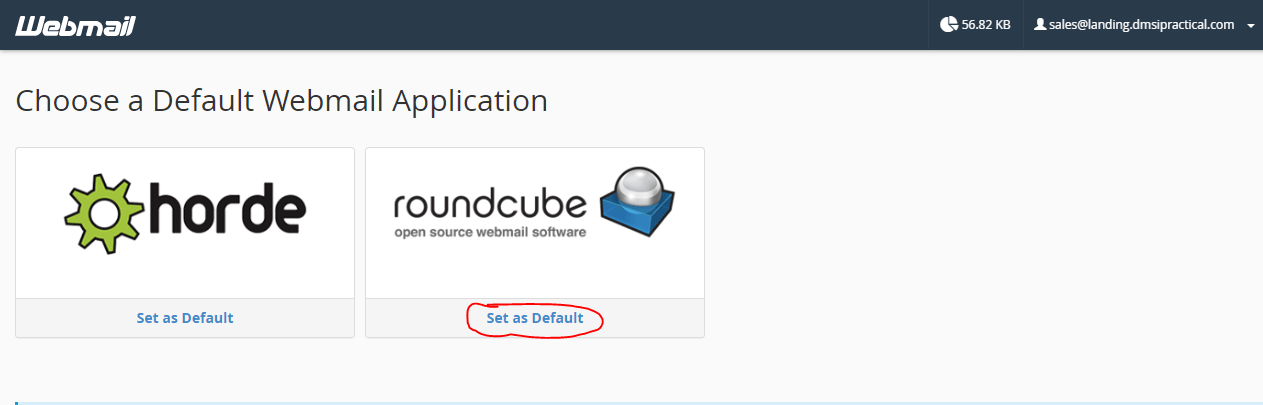
Step Four: Go to Webmail
Once the account has been created, you can access it by clicking on ‘manage’ or go to yoursite.com/webmail and use the newly created custom email and password to log in. Once this has been done, choose roundcube as your preferred webmail application.